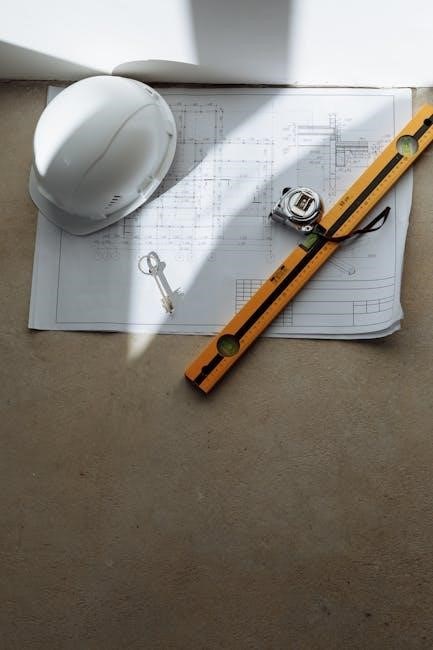
PDF blueprints provide detailed, step-by-step guides for building picnic tables, offering clear diagrams and instructions. Perfect for DIY enthusiasts, these plans ensure durable, stylish, and functional results.
Overview of Picnic Table Blueprints
PDF blueprint picnic table plans provide detailed, easy-to-follow instructions for constructing durable and stylish picnic tables. These plans typically include measurements, cutting lists, and assembly guides, ensuring projects are completed efficiently. They cater to various skill levels, from beginners to experienced builders, offering versatility in design and customization. Whether for a backyard, park, or camping site, these blueprints ensure a sturdy and attractive final product, perfect for outdoor gatherings and relaxation.
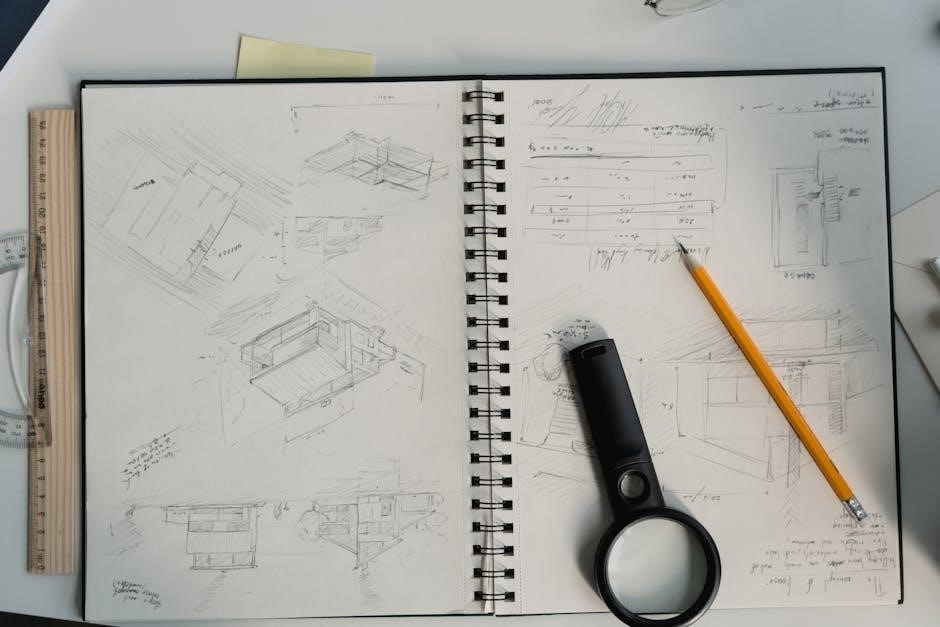
Blueprints often feature diagrams and step-by-step instructions, making the assembly process straightforward. They allow users to choose materials and designs that suit their needs, ensuring the finished table blends seamlessly with its surroundings. With clear instructions and precise measurements, PDF plans minimize errors and save time, making DIY projects enjoyable and rewarding.
Importance of Using PDF Plans for DIY Projects
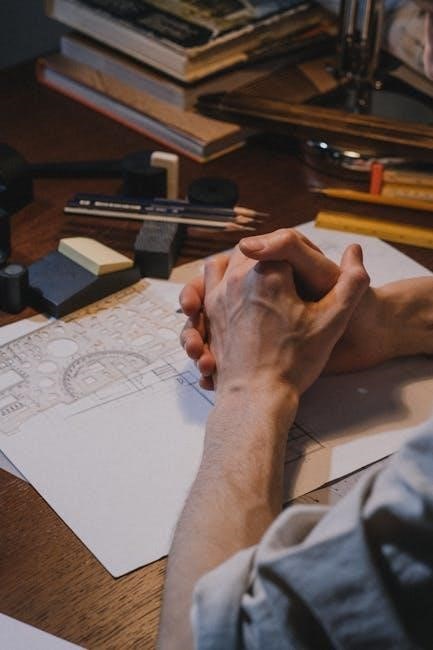
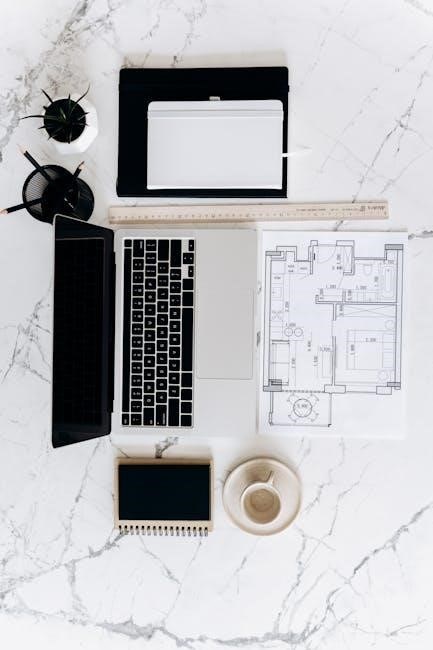
Using PDF blueprint picnic table plans ensures clarity and precision for DIY projects. These files provide detailed measurements, step-by-step instructions, and visual diagrams, reducing confusion and errors. PDF plans are easily accessible and printable, making them convenient for project preparation. They also offer consistency, as measurements and instructions remain unchanged, ensuring accuracy. Additionally, PDFs are cost-effective and environmentally friendly, eliminating the need for physical copies. They empower DIYers of all skill levels to achieve professional-quality results efficiently and confidently.

Materials and Tools Required
Building a picnic table requires sturdy lumber, weather-resistant screws, wood glue, a saw, drill, wrench, measuring tape, and sandpaper for smooth and durable assembly.
Lumber and Wood Selection
Selecting the right lumber ensures durability and stability. Pressure-treated pine or cedar is ideal for outdoor use, offering resistance to rot and insects. For a cost-effective option, spruce or fir can be used, though they may require sealing. Hardwoods like oak or maple offer a premium look but are more expensive. Always choose straight, knot-free boards for structural integrity. Proper wood selection ensures your picnic table withstands weather and heavy use while maintaining aesthetic appeal.
Essential Tools for Assembly
Assembly requires basic tools to ensure accuracy and efficiency. A circular saw is essential for cutting lumber to precise measurements. A cordless drill simplifies screw driving and hole drilling. Measuring tape and square ensure accurate cuts and proper alignment. Sandpaper smooths rough edges, while a wrench or socket set secures bolts. Clamps help hold pieces steady during assembly. These tools are fundamental for a successful build and are typically found in most DIY workshops or toolkits.
Popular Designs for Picnic Tables
Picnic tables come in various styles, including traditional rectangular, hexagonal, and octagonal designs. Folding and space-saving models are ideal for smaller spaces, offering versatility and convenience.
Traditional Rectangular Picnic Table Plans
Traditional rectangular picnic tables are timeless and straightforward, featuring long benches and a simple frame. These classic designs are ideal for parks, backyards, and public spaces. They often include seating for 6-8 people, with a durable structure that withstands heavy use. The plans typically specify standard lumber sizes and easy-to-follow instructions, making them suitable for DIY enthusiasts; This design is versatile, accommodating both small and large groups, while remaining easy to construct with basic tools and materials.
Hexagon and Octagon Picnic Table Designs
Hexagon and octagon picnic table designs offer a modern twist on traditional styles, featuring multi-sided shapes for unique visual appeal. These designs maximize space efficiency and provide comfortable seating for groups. Hexagon tables often seat 6-8 people, while octagon designs can accommodate larger gatherings. The rounded edges enhance safety and durability, making them ideal for family-friendly settings. These plans are perfect for those seeking a blend of functionality and aesthetic charm in their outdoor spaces.
Folding and Space-Saving Picnic Table Ideas
Folding and space-saving picnic table designs are perfect for small gardens, balconies, or temporary events. These plans often include collapsible frames and detachable benches, allowing easy storage and transport. Ideal for city dwellers or campers, these tables combine functionality with convenience. Some designs feature foldable legs or hinged tops, enabling effortless assembly and disassembly. These compact solutions are great for maximizing limited space while providing a practical outdoor dining option for families and guests.
Step-by-Step Assembly Guide
Follow detailed instructions for assembling your picnic table, starting with preparing materials, cutting lumber, and constructing the frame. Attach benches securely and ensure all bolts are tightened properly for stability and safety. Refer to diagrams for accurate alignment and measurements. Sand rough edges and apply a finish before final assembly. Double-check all joints and hardware for durability. Complete with a final inspection to ensure everything is level and secure.
Preparation and Cutting List
Begin by organizing tools and materials according to your PDF blueprint. Verify the cutting list to ensure all lumber lengths match the plan. Cross-reference each piece with the blueprint to avoid errors. Sand all cut wood surfaces for smooth assembly. Organize pre-cut pieces by labeling them for easy identification. Double-check measurements before cutting to minimize waste. Ensure all hardware and fasteners are within reach. A well-prepared workspace ensures efficiency and accuracy during assembly. Safety glasses and a dust mask are essential for cutting and sanding.
Building the Table Frame
Assemble the table frame on a flat surface for accuracy. Align the legs and side rails, ensuring corners are square. Use screws to secure the joints tightly. Attach the center support beam for added stability. Follow the PDF blueprint’s measurements to ensure proper alignment. Double-check the frame’s levelness before proceeding. Once the frame is built, let it sit to ensure all pieces fit snugly. Tighten all screws gradually to avoid warping. Use clamps to hold pieces in place while assembling.
Attaching Benches and Final Assembly
Position the benches evenly along the table frame, ensuring proper alignment with the seat supports. Secure the benches using screws, following the PDF blueprint’s specified spacing. Double-check that the benches are level and firmly attached; Tighten all screws gradually to maintain stability. Once benches are in place, inspect the entire structure for any gaps or misalignments. Use clamps to hold benches steady while securing them. Finally, ensure all bolts and screws are tightened properly for a sturdy and safe picnic table.

Custom Features and Upgrades
Enhance your picnic table with personalized touches like built-in cup holders, armrests, or a center tray. Add a backrest for comfort or incorporate storage compartments for utensils and accessories. Advanced designs may include adjustable legs or foldable mechanisms for versatility. Use decorative screws or stain to match your outdoor decor, creating a unique and functional piece tailored to your needs.
Adding a Backrest for Comfort
Add a backrest to your picnic table for enhanced comfort during long gatherings. Cut additional lumber to match your table’s design and attach it securely to the bench frame. Ensure stability by reinforcing the structure with extra supports. Consider using weather-resistant wood and a protective finish to maintain durability. This feature is ideal for families or those who enjoy leisurely meals outdoors, providing ample support and relaxation for everyone.
Incorporating Storage Solutions
Add practicality to your picnic table with built-in storage compartments. Install a hinged lid under the table or benches to store items like cushions, utensils, or outdoor games. Use waterproof containers or shelves to keep belongings dry and organized. Consider adding hooks or trays for hanging bags or placing small items. These storage solutions enhance functionality, keeping your outdoor space tidy and convenient for gatherings. Ensure designs align with your table’s style for a seamless look.
Advanced Designs with X-Legs or Pipe Trestles
Elevate your picnic table design with X-legs or pipe trestles for a modern, industrial aesthetic. X-legs provide exceptional stability on uneven surfaces, while pipe trestles add a sturdy, minimalist touch. These designs are perfect for those seeking a unique, contemporary look. PDF blueprints often include detailed measurements and instructions for incorporating these elements, ensuring a professional finish. They offer a blend of style and durability, ideal for outdoor settings and custom projects.
Safety and Durability Considerations
Ensure your picnic table is built with weatherproof materials and secure joints for stability. Use rot-resistant wood and protective finishes to enhance durability and safety for outdoor use.
Weatherproofing and Protective Finishes
Protect your picnic table from moisture and UV damage by applying waterproof sealants or UV-resistant stains. Use high-quality exterior paints or oils to preserve the wood grain. Regularly inspect and reapply finishes to prevent rot and warping. Sand surfaces before finishing to ensure proper adhesion. Consider using food-safe treatments if the table will be used for dining. Proper weatherproofing extends the lifespan of your picnic table and maintains its structural integrity for years of outdoor enjoyment.
Stability and Weight Distribution
A sturdy picnic table requires a wide, balanced base to prevent tipping. Ensure the legs are evenly spaced and the frame is symmetrical for optimal weight distribution. Use heavy-duty hardware to secure joints, as loose connections can lead to instability. Position the table on level ground to avoid wobbling. For added stability, attach weights or anchor the table to the ground, especially in windy areas. Proper weight distribution ensures safety and comfort for users of all ages.
Budget-Friendly Tips
Use reclaimed or untreated wood for affordability. Shop for lumber during sales or buy in bulk. Optimize cuts to minimize waste and reduce material costs effectively.
Optimizing Material Usage
Maximize efficiency by carefully planning cuts using your PDF blueprint. Avoid unnecessary waste by selecting lumber that matches required dimensions. Use standard-sized boards to minimize leftover material. Consider pre-cut options from hardware stores to reduce waste further. Always double-check measurements before cutting to ensure accuracy. Organize materials beforehand to streamline the assembly process and save time. Proper planning ensures resources are used effectively, reducing costs and environmental impact while maintaining the quality of your picnic table build.
Cost-Effective Lumber Choices
Selecting affordable yet durable lumber is crucial for a budget-friendly picnic table. Pressure-treated pine is a cost-effective option for outdoor use, offering resistance to rot and insects. Cedar is another excellent choice, providing natural durability at a modest price. Consider reclaimed or recycled wood for an eco-friendly and budget-conscious alternative. Always inspect lumber for defects like knots or warping before purchasing. Using standard-sized boards minimizes waste and reduces costs further, ensuring your project remains affordable without compromising quality or longevity.
Maintenance and Upkeep
Regular cleaning, inspections, and timely repairs are essential for maintaining the durability and safety, ensuring your picnic table remains sturdy and enjoyable for many years.
Regular Cleaning and Inspection
Regular cleaning and inspection are crucial for maintaining your picnic table’s condition. Use mild detergent and water to wipe down surfaces, removing dirt and food residue. A soft-bristle brush can help scrub stubborn stains. Rinse thoroughly and allow the wood to dry completely to prevent moisture damage. Inspect for cracks, splits, or rot, and check hardware for tightness and rust. Regular checks every 2-3 months ensure longevity and safety, especially after harsh weather conditions.
Repairing and Replacing Damaged Parts
Repairing or replacing damaged parts of your picnic table ensures its longevity and safety. Start by assessing the damage; minor cracks or dents can often be filled with wood filler and sanded smooth. For more severe issues, like splits or rotting wood, replace the damaged section entirely using the same type of lumber specified in your PDF blueprint. Tighten loose joints and replace any rusted hardware. Apply a fresh coat of protective finish after repairs to maintain durability and weather resistance.
Troubleshooting Common Issues
Troubleshooting common issues ensures your picnic table remains sturdy and functional. Identify the root cause, such as loose joints or uneven surfaces, and address them promptly using your PDF blueprint as a guide to resolve problems effectively.
Fixing Wobbly Tables or Benches
Wobbly tables or benches can be easily fixed by checking and tightening loose bolts or screws. Ensure all joints are secure and evenly aligned. If the issue persists, inspect the legs for unevenness and use shims or adjust the feet to level the surface. Refer to your PDF blueprint for specific instructions on reinforcing joints or replacing worn-out hardware to restore stability and comfort to your picnic table.
Addressing Warping or Rotting Wood
Warping or rotting wood can compromise the structural integrity of your picnic table. Inspect the wood for signs of damage and replace any affected planks. Apply a waterproof sealant to protect the wood from moisture. Consider using rot-resistant lumber like cedar or treated wood for durability. Regularly inspect and maintain the table to prevent further damage. Your PDF blueprint may include tips for selecting and treating wood to ensure longevity and stability.
Congratulations on completing your picnic table project! With your PDF blueprint, you’ve created a durable, comfortable outdoor space. Celebrate your DIY success and enjoy the memories!
Final Thoughts on DIY Picnic Table Projects
Completing a picnic table using a PDF blueprint is a rewarding DIY experience. It not only saves money but also offers a sense of accomplishment. With proper planning and execution, your project will provide years of enjoyment for family and friends. Remember, DIY projects are about learning and creativity, so embrace the process and take pride in your handmade outdoor furniture. Happy building and enjoy the fruits of your labor!
Encouragement for First-Time Builders
Building a picnic table from a PDF blueprint is a fantastic way to start your DIY journey. Don’t be intimidated if you’re new to woodworking—these plans are designed to be accessible. Start with simple designs, and remember, mistakes are part of the learning process. Take pride in each step, and don’t hesitate to ask for help. Celebrate your progress and enjoy the satisfaction of creating something functional and lasting. Happy building!
Additional Resources
Explore websites like Instructables or Ana White for detailed picnic table PDF plans. Download guides from Etsy or woodworking forums for inspiration and practical tutorials.
Recommended Websites for Plans and Inspiration
For high-quality picnic table plans, visit websites like Ana White, Instructables, or Etsy. These platforms offer detailed PDF blueprints and creative ideas. Woodcraft and Fine Woodworking also provide excellent resources. Explore these sites for free or premium plans, step-by-step tutorials, and inspiring photos to help you visualize your project. They cater to both beginners and experienced builders, ensuring you find the perfect design to suit your skills and preferences.
Downloadable PDF Guides and Blueprints
Premium PDF guides for picnic table plans are available on platforms like Etsy, eBay, and specialized DIY websites. These downloadable files often include detailed instructions, cutting lists, and assembly diagrams. Many PDFs are designed for beginner-friendly projects, offering step-by-step guidance. They frequently include customizable options to suit different styles or spaces. Downloading a PDF blueprint ensures you have all the necessary information in one organized document, making your DIY project easier to manage and complete successfully.

Final Thoughts and Next Steps
Congratulations! You’ve now explored the essential aspects of creating a picnic table using PDF blueprints. With detailed plans and step-by-step guides, you’re ready to bring your project to life. Gather your materials, tools, and enthusiasm, and start building. Remember, DIY projects are not just about creating something functional—they’re about the joy of crafting something with your own hands. Share your progress, learn from others, and enjoy the satisfaction of your handmade picnic table for years to come!